Recovers lost or deleted Office documents, emails, presentations & multimedia files.
Recovers deleted files, photos, videos etc. on Mac.
Recover photos, videos, & audio files from all cameras and storage on Windows or Mac.
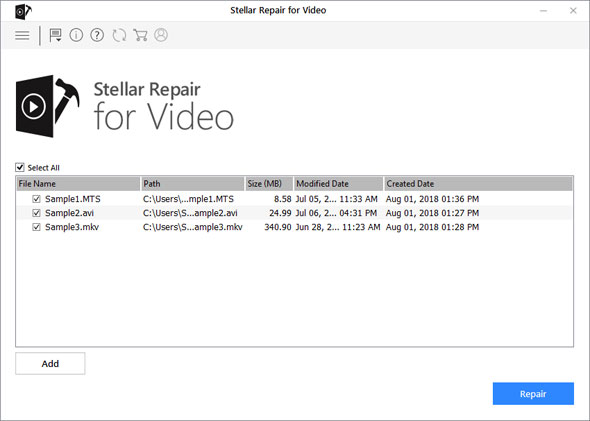
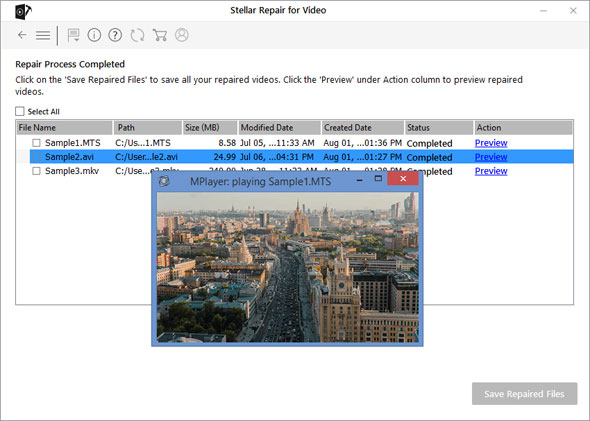
Summary: Here in this post, the most common video errors that hamper the video experience of a user are described in detail. Read on to know about the errors and their easy fixes with simple steps. Stellar Repair is one of the safest solutions among them.
Just imagine, you have downloaded the latest episode of ‘The Walking Dead’ and everything is going smoothly until, the video just gets stuck, or there is no sound, or the audio file is not in sync with the video file. Then you realize that something is wrong with the video but have no idea where the problem lies. There could an error and fortunately, there are some go-to procedures that can help you to fix video errors. That said, let’s delve into some of the common video errors and their fixes.
All the above mentioned comman video errors are described in detail below:
Audio issue is quite common with the videos. What makes for a perfect viewing experience is the visual as well as aural experience and if either of the factors is hindered or somehow is not in sync with each other, then it just kills the excitement. While playing the video, if there is no audio, here’s how you can fix it.
Figure 1 illustrates to check for the driver updates
Figure 2 illustrates the error message
Windows Media Player cannot play the file. The Player might not support the file type or might not support the codec that was used to compress the file. If you see this error, then you need to download and install the necessary codec files in order to seamlessly play the video.
Codec files are necessary for encoding and decoding a digital stream of data and if the required codec files are missing, then you need to install the required file. Further, you can leverage a video repair software to fix this video error or can download K-Lite codec pack.
If you’re experiencing video playback issues, then switch to another media player. The reason why you’re unable to play your video is due to the incompatibility issue. Your computer does not support your existing media player; therefore, try playing the video on another media player which is compatible with your system and supports the video file format.
Moreover, you can download the DLL files associated with the video file and can fix video errors. Before downloading any software or making any modification, take a backup of the original file so that you can restore it if something unexpected happens. A video repair tool is another solution to fix the video error.
The Black screen is due to a fault in the graphics card or in the monitor itself. If you’re watching the video on your computer, then connect the monitor to another computer and check whether the black screen appears again. To fix the video error, try to reduce the hardware acceleration for your video card. Follow these steps to do that:
Figure 3 illustrates the procedure
4. Reduce the Hardware Acceleration
5. Reboot your system and then play the video file again.
If the video is distorted, the reason could be that due to electromagnetic or radio frequency interference. Use a reliable high-speed HDMI cable and use a certified video extender. Further, unplug the monitor and then plug it back in and examine the VGA connector to ensure that there are no broken pins.
The video file may be corrupt; therefore, repair it via a video repairing tool. Stellar Repair for Video is one of its kind video repairing tools. Equipped with robust functionality and easy-to-use interface, the software is the best bet to fix the video errors. With a few minutes, you can repair your video files. How? The following steps illustrate its functionality:
Figure 4 illustrates to select repair video
Figure 5 illustrates to add the video files
Figure 6 illustrates the preview option
Over and Above
These are the 5 common video repairs along with their fixes. I hope that the fixes mentioned above might have fixed the video error and by now you might have finished the latest episode of ‘The Walking Dead’. To make it easier, you can leverage Stellar for more accurate and faster results. Just run the software and it will take care of everything.
Sumona is a tech blogger, avid photographer, & technogeek with vast experience in writing about media file recovery tips and tutorials. She has over 10 years of experience in media file recovery/media file repair technology. She is passionate about Photography, Creative Designing, Music, and Exploring lesser-known destinations.
Hi, I just tried Stellar Repair for video. It works fine, my video is very nice but i don’t have sound. All the non corrupted videos have sound. Is it because it is a demo version ? Thanks – Philippe – Belgium ( ps I on a MAC Pro )
Hi Philippe, Thanks for using our software!
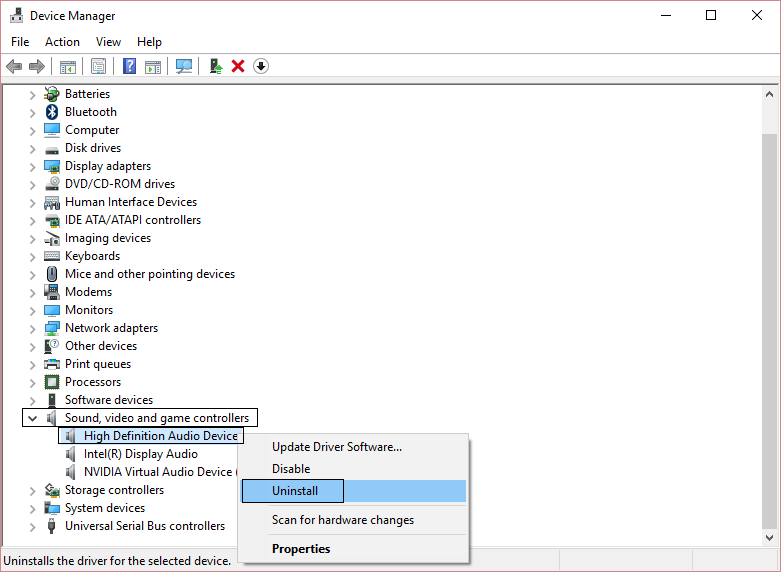
i used my webcam to as surveillance cam and got a 41gb video. i try to play the saved video but it cannot play.
Hi migz, I think the files may be corrupt or damaged. You can try our software demo version and see the preview of repaired files.Thanks!
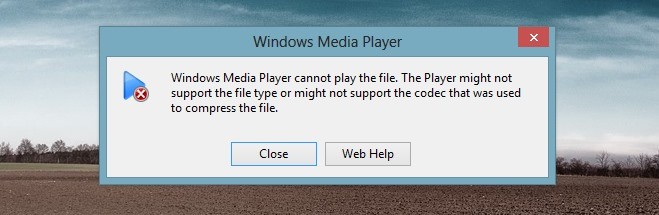
I’m really happy with the video repair of my GoPro MP4 files the only issue I’m finding is the audio seems to get stripped in the process.
Prior to the repair, the properties have audio details then afterwards they disappear.
Can you please help?
Dear Paul, I think the video file is corrupt. You can try our software by downloading the trial version and see a preview of the repaired files. Our free trial lets you preview up to 20% of the repaired video.
When I play a video on chrome browser I got a black screen. How to resolve google chrome black screen issue on windows 10?
Hi Laurence, Please follow these steps:
1. Create Google Chrome shortcut on Desktop (in case you don’t have it).
2. Right-click the shortcut, and select Properties.
3. Click on Shortcuts tab.
4. In Target window, add the following text: “[space]–disable-gpu“(so the path should look like chrome.exe” –disable-gpu”).
5. Google Chrome black screen Windows 10.
6. Save changes.
7. Now, open Chrome and go to Settings > Show advanced settings.
8. Now, just disable the Use hardware acceleration when available option.
9. Google Chrome screen went black.
10. Restart Chrome.
Thanks for raising this interesting videos issue is quite informative. I think you must take up another blog!
Dear Maria, Thanks for reading our blog!
Dear Jennygg,
Thanks for using our software and sharing your valuable feedback!
When I editing a video with the help of Premiere Pro. After cutting video in and out, the sound had gone. I try your manual step but unsuccessful, I’m happy to use your software for repairing my video file!
I used Lenovo ThinkPad with windows 10. Whenever I watch a movie, it’s sounds cracks. Thanks for giving me a wonderful information on your blog to resolve this problem. Thanks a lot!
Hello Aaron,
Thanks for reading our blog. Please don’t forgot to follow us on twitter for latest updates and offers.
A few months ago, I was facing the same video errors. Now I am happy because when I used this software, it’s working. Thanks for giving such excellent information!
Hello Beckthomas,
Thanks for using the software.